There are a number of vegetables, whose Microgreens are a nutritious and flavourful accompaniments to your regular meals. The quick harvest time and ease of growth makes them all the more tempting.
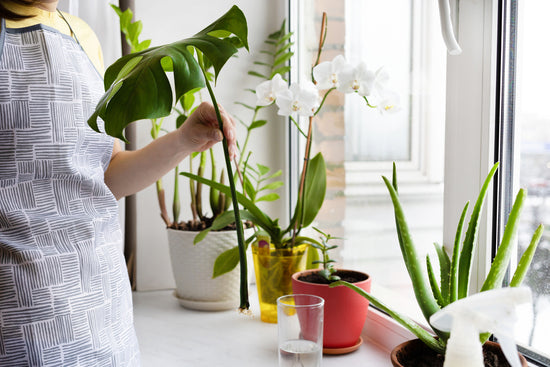
Don’t get bogged down by the fact that you do not have the time and space for gardening. Growing microgreen is nothing like traditional gardening and is so much easier, it could be a house chore you give to your kids.
They are not only superfoods that are gaining popularity in homes across the globe but also becoming a USP of high-end restaurants. They fit right into the list of super-nutritious, organic, pesticide free, and farm to fork food experiences.

• What Are Microgreens?
Microgreens are essentially the first true leaves (cotyledon leaves) produced from seedlings of vegetables and herbs. The tiny leaves are harvested when they are approximately a couple of inches tall, which takes around 12 to 14 days from sowing. They are packed with nutrition and intense flavours just like their mature counterparts. To elaborate, a radish microgreen will give you the nutty flavour of radish, while a beetroot microgreen will give you the earthy sweet flavour that the beetroot is famous for.
Microgreens are revered due to higher levels of vitamins and carotenoids - about five times on an average - than their mature counterparts. This nutrient dense quality helps lower the risk of cancer, Alzheimer's, boost heart health, and so much more.

Microgreens are ideal for you if you are struggling with time and space for your garden but want to start eating healthy. Some of the reasons for growing your own batch of this superfood are:
-
Easy to Grow:
Microgreens are incredibly easy to grow due since they are harvested at the first true leaf stage and can be grown effortlessly on a sunny windowsill.
-
Quick to harvest:
Microgreens get ready to eat in just two weeks.
-
Packed with flavours:
Though microgreens are tiny, the concentration of flavours makes them a favourite of chefs and food lovers around the world.
-
Loaded with nutrients:
According to a study done by University of Maryland, microgreens have a higher concentration of nutrients than mature vegetables and herbs with some microgreen varieties having up to 40 times more nutrition than grown vegetables.
• How to grow your own microgreens at home
To grow microgreens at home you would need the following things.
1. Microgreen Seeds
For growing a particular Microgreen, it is advisable to take Microgreen seeds specifically, instead of mature vegetable seeds. Microgreens cannot be grown from regular seeds; you should use microgreen seeds only. You can order varieties of Microgreens seeds online from Ugaoo.

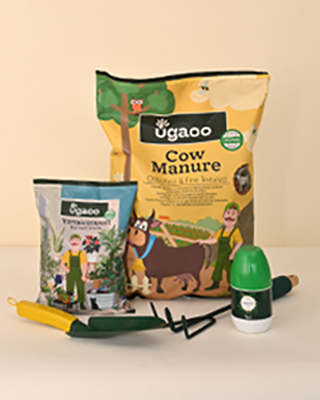
2. Potting Soil
Ugaoo potting mix works the best, but you may use any soil from your garden too, just make sure that the soil is clean and loos and well-draining. Using just red oil might be too heavy for delicate microgreens. Using washed cocopeat is also a good idea and yields excellent results. The soil should not contain any chemical or pesticide quantities, in order to grow Microgreens organic and healthy.
3. Pot/Tray
Using a container that is wider than deep gives you a lot of surface area to plant and harvest from. You can buy microgreen trays from Ugaoo online. Adhering to the principles of upcycling, using takeaway containers works excellent for growing microgreens in batches, just make sure that you make some holes at the bottom for drainage.

4. Light Source
Microgreens require a moderate amount of indirect sunlight for at least 3-4 hours a day. A north or east facing windowsill, kitchen counter tops, or any other flat surface that gets indirect light works well.
PS: I place my microgreen tray on top of my fridge, gets morning light till 10 AM and does not get disturbed by daily activities.
5. Water
Water is necessary element for growing microgreens The growing medium should be kept moist at all times. Using a mister works best, but I prefer to practice bottom up watering approach to avoid wetting the greens. In bottom up watering, whenever the soil seems to be too dry for my liking, I place the microgreen container in a tray pf water so that the soil can soak up the water through the drainage hole (osmosis) and then remove the tray, let the excess water drain and then keep it back in place.

• Step-by-step Growing Instructions
- The first step is filling the tray/container with soil. Since the roots of Microgreens do not reach that deep, 4-5 inches of container depth and 3-4 inches of soil height is good enough.
- Take care to not fill the soil till the brim of the container. Wet the oil thoroughly and let the excess water drain out for s awhile till it stops dripping out of the drainage hole.
- After the soil is ready, Sprinkle the microgreen seeds on the surface, ensuring a single uniform layer.
- Now cover the seeds with fine sprinkling of the same potting mix. Ensure that the cover on top is not thicker than the diameter of the seeds.
- Now place the container in an area that get indirect light and is out of direct drafts from the AC, heater, cooler or fan.
- Don’t let the setup dry out ever. It is the most crucial step for growing microgreens successfully. Keep watering it with a mister, a teaspoon or practice bottom up watering technique.
- After a week, your container will be full of tiny green growth. They will be ready to harvest when they are a couple of inches tall.
- To harvest microgreens, just take a pain of kitchen scissors and snip them right above the soil. Consume them soon after harvest for maximum benefits.
- Turn over the soil and remove the left over root debris using a fork and its ready to use again for the next batch of microgreens.
- Do not let you microgreen grow for too long (more than 17-20 days) as they start wilting after a while.
Microgreens go very well in smoothies, salads, as a garnish on your pastas and soups, in sandwiches or rolls or anything else for that matter. The possibilities are endless.
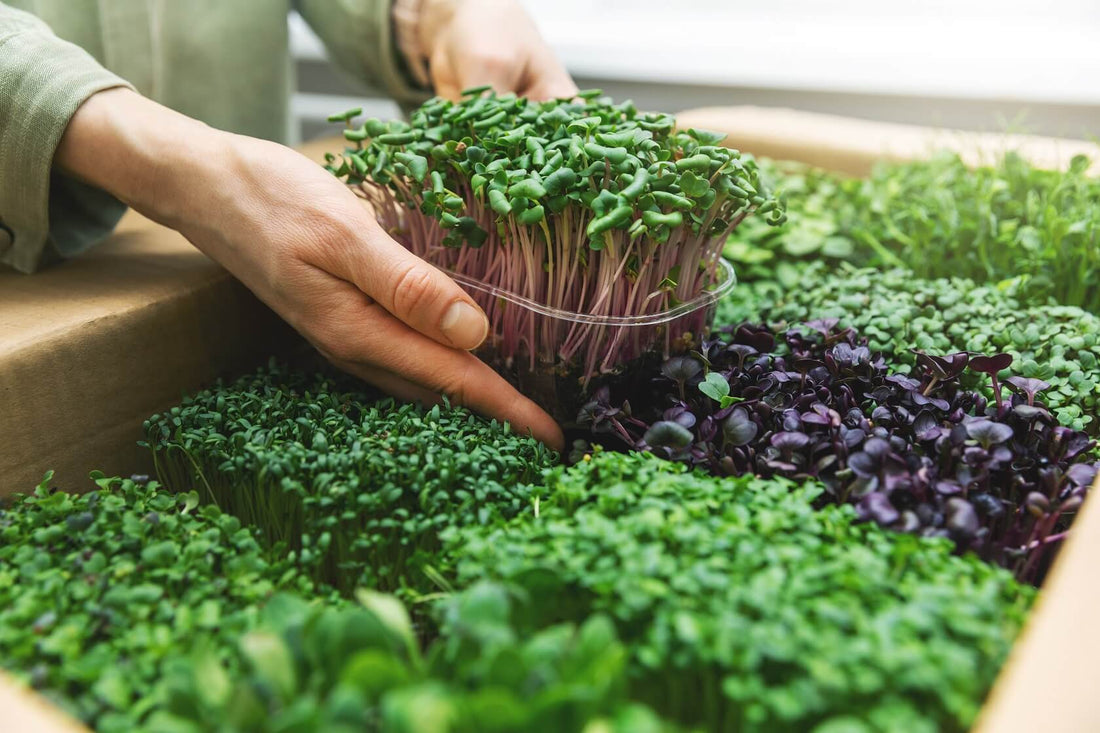
• Easiest microgreens to grow at home
Microgreens can be grown almost everywhere without much effort and are fast taking over the healthy kitchens around the globe. Let’s look at how some of the easiest varieties of microgreens to grow that can be transformational in improving your health for the better.1) Rocket Microgreen
Packed with antioxidants, Vitamins A, C, K, Calcium, Folate, Iron, Magnesium, Phosphorus, Beta Carotene, and cancer-fighting phytochemicals. Arugula or rocket microgreens have a peppery taste and can germinate in room temperature and grow faster in cooler weather.

2) Radish Microgreen
One of the fastest growing microgreens available, Radish is a great variety to pick for beginners. A good source of vitamin B, C, Zinc, Magnesium and Phosphorus and antioxidants. The peppery radish zest in tiny green leaves can be sown throughout the year and grow well at room temperature.

3) Broccoli Microgreen
The anti-inflammatory properties of broccoli microgreens will help reduce toxins in the body. Broccoli microgreens are packed with vitamin A, C, E, K, protein, and calcium including significant amounts of iron, magnesium, and phosphorus.
4) Beetroot Microgreen
The bright red and purple of the colours of beetroot microgreens are enough to create eye-catching ensemble on your plates. Beetroot microgreens are charged with Zinc, Iron, Calcium, Potassium, Magnesium, and vitamins A, B, C & K.
5) Parsley Microgreen
The parsley microgreens are packed with Iron, Calcium, Magnesium, Potassium, Fibre and Vitamins A, C & K. Parsley microgreens are good for improving liver health and have been known to discourage the growth of certain types of cancers.
6) Garden Cress Microgreen
Garden cress microgreens are a great way to add the much needed spicy and fresh flavours to your sandwiches and salads. These microgreens contain all the essential amino acids, Vitamins A, B, C & E, Potassium, Phosphorus, Calcium, Magnesium, Iron, Niacin, and antioxidants.

7) Spinach Microgreen
Spinach microgreens are a wonderful source of Iron, Potassium, Calcium, Vitamins A & C. Spinach microgreen are good in keeping the blood pressure in check, preventing cancer and reduce chances of diabetes.

8) Sunflower Microgreen
Sunflower microgreens are full of essential nutrients including vitamin A, B, C, Calcium, Iron, Manganese, Phosphorus, Potassium, Sulphur, and Zinc. Sunflower microgreens also pack the cancer-fighting compounds and antioxidants about 5 to 10 times than the mature plants.
9) Alfalfa Microgreen
Alfalfa microgreens are very mild and crunchy in flavour and can be added to salads or sandwiches to slightly nutty flavour. Alfalfa microgreens are rich in Vitamin A, B1, B6, C, E, and K, Potassium, Iron, Calcium and Zinc. These microgreens can play an important role in preventing breast cancer, reduce the chances of diabetes and improve bone health.