
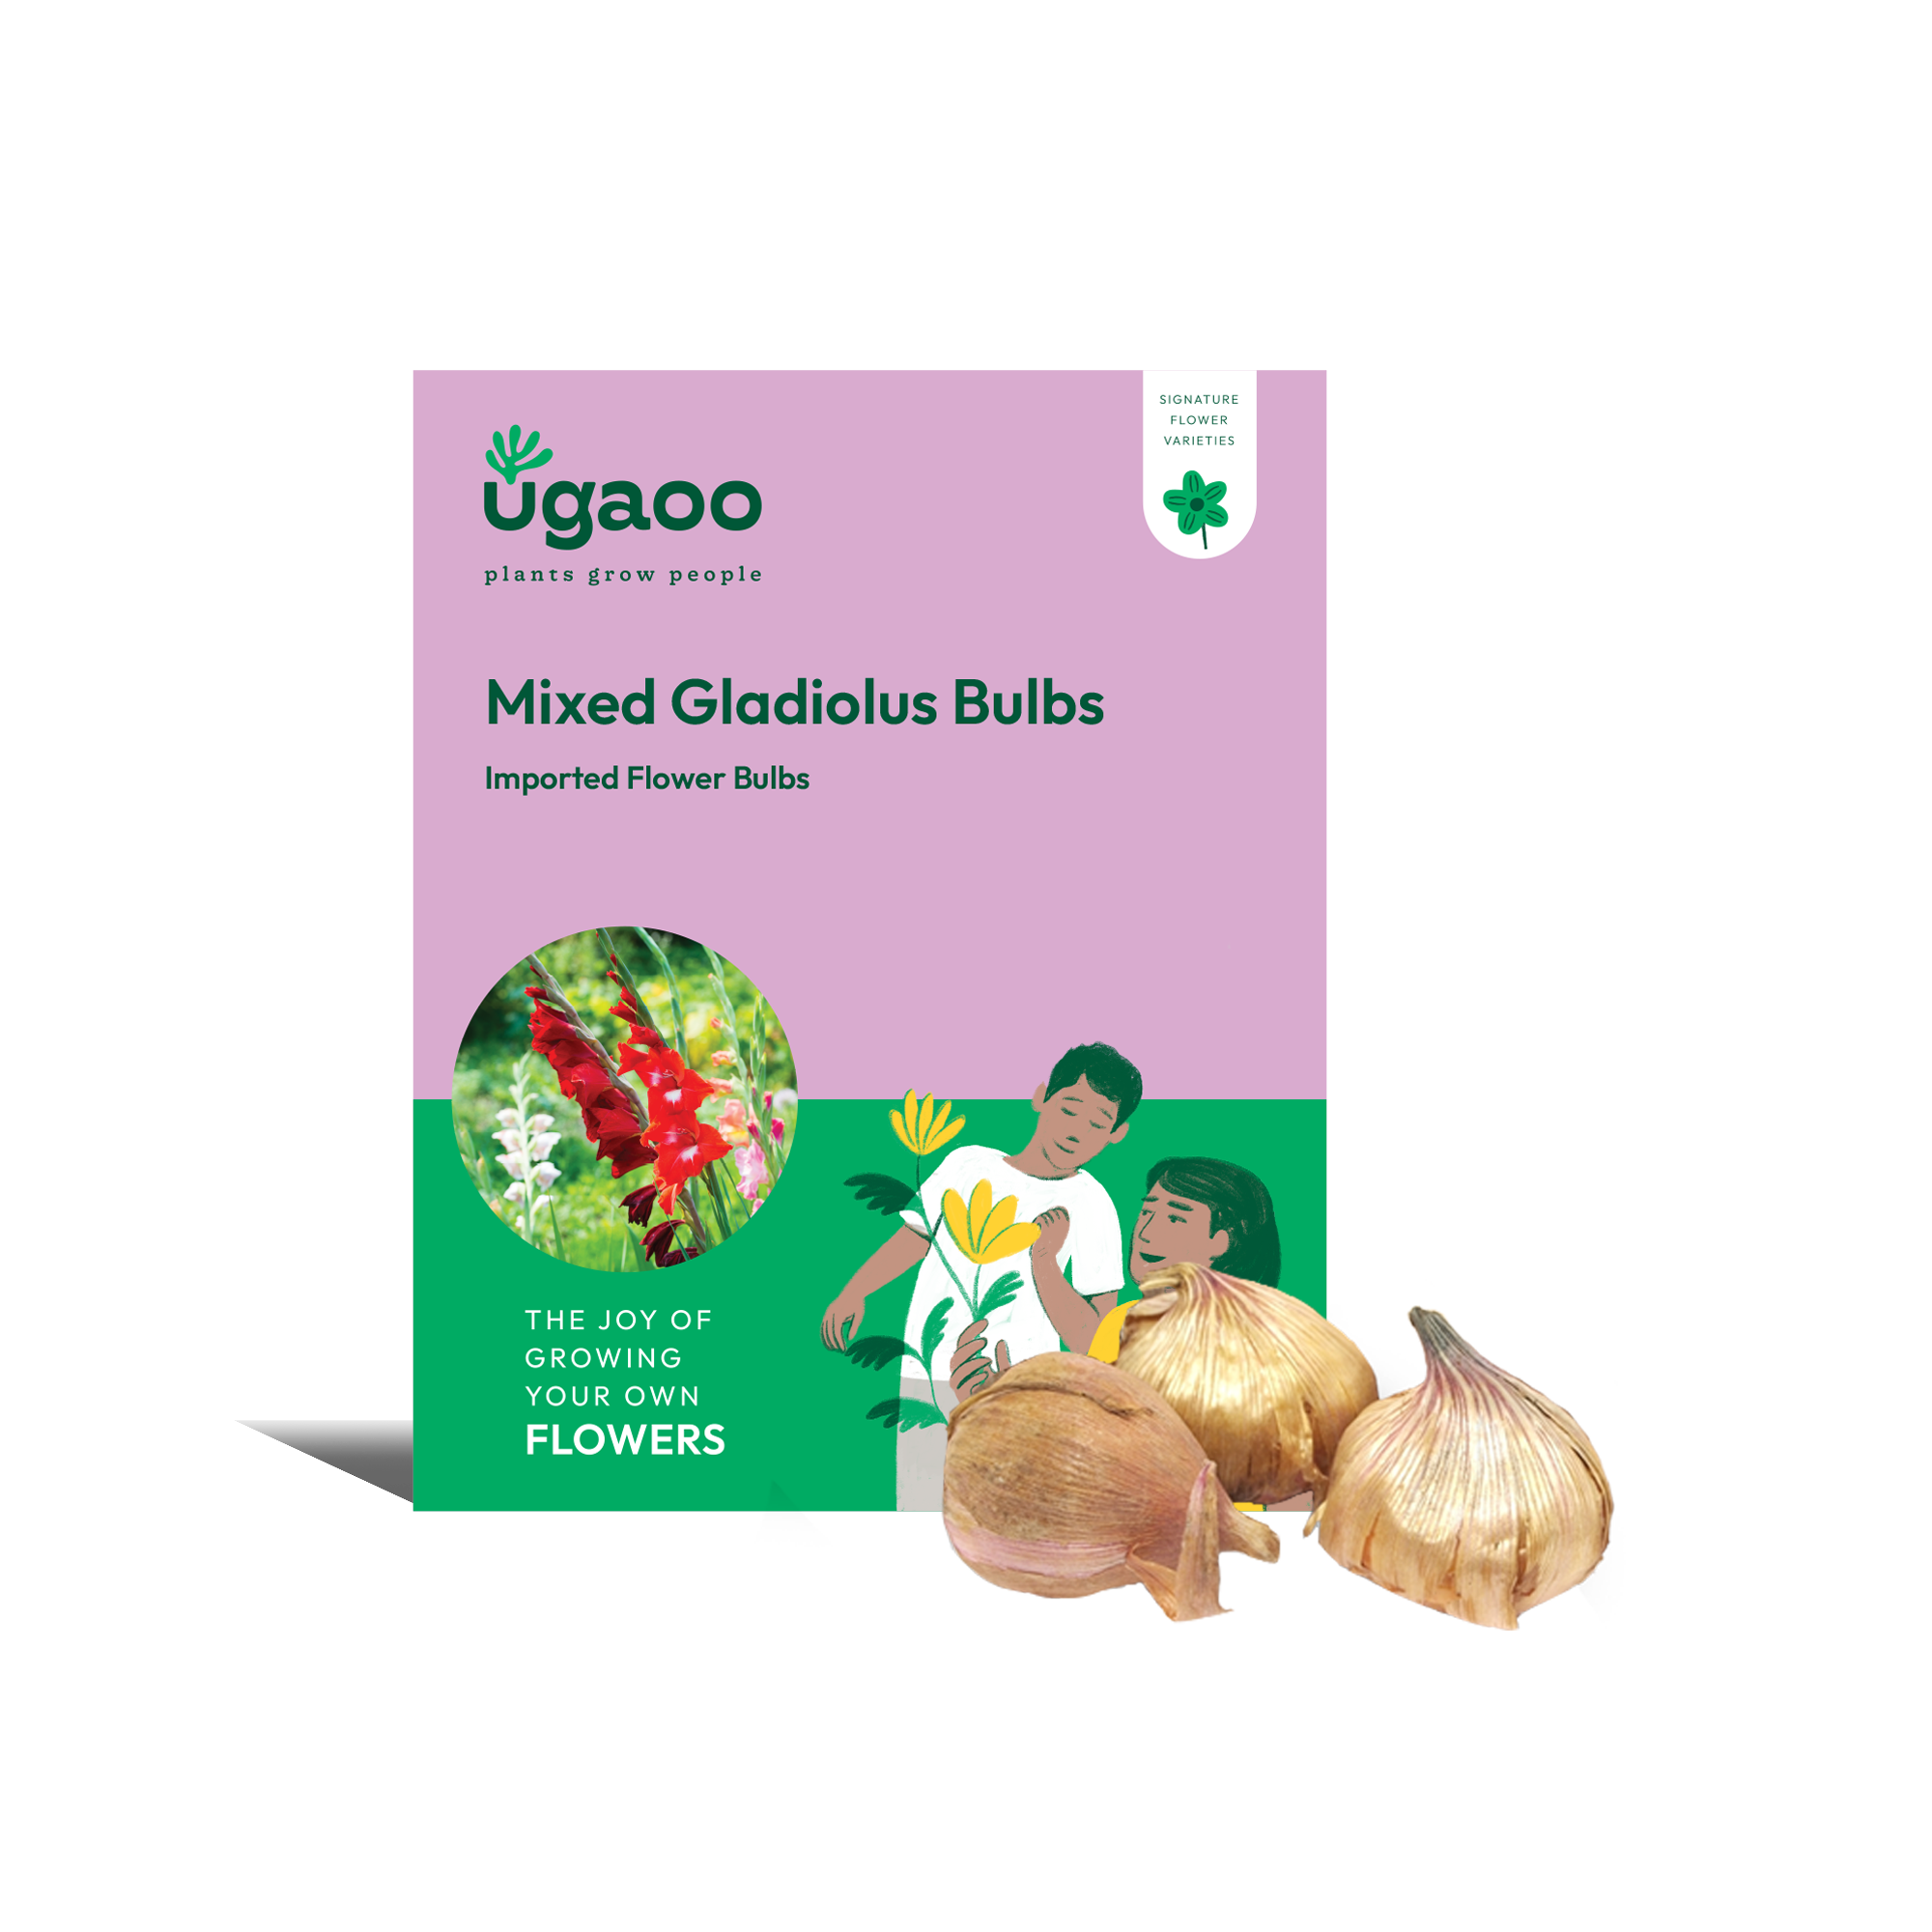
Mixed Gladiolus Bulbs
- Regular price
-
₹175 - Regular price
-
₹349 - Sale price
-
₹175
(Incl. of all taxes)
Tax included.
Delivery estimate
Couldn't load pickup availability
Offers for you:
Get 10% off on above ₹1,499
Save10
Copied!
Free shipping on all orders above ₹499
Offer applied at checkoutAbout The Product
Famous for their showy perennial flowers, they are a standard feature in bouquets. The flowers open from the bottom upwards with strap-like foliage. They are stunning when grown in groups in partial to full sun. The galdiolus blooms in summers and fills up the garden with colours. Excellent as cut flowers with a long life.
Light Guide


Product Specifications
| Name | Mixed Gladiolus Bulbs |
|---|---|
| Category | SEEDS |
| Country of Origin | INDIA |
| Marketed by | Ugaoo Agritech Pvt Ltd, Plot No. 90, Floriculture Park, Ambi, MIDC, Talegaon Dabhade, Maharashtra 410507 |
| MRP | ₹349 (Incl. of all taxes) |
| Net Quantity | 1 |
| Manufactured by | Ugaoo Agritech Pvt Ltd, Plot No. 90, Floriculture Park, Ambi, MIDC, Talegaon Dabhade, Maharashtra 410507 |
| Customer Support | Email : support@ugaoo.com Call: +91-9129912991 |
From Happy Plant Parents
After receiving this plant (𝑴𝒐𝒏𝒔𝒕𝒆𝒓𝒂 𝑫𝒆𝒍𝒊𝒄𝒊𝒐𝒔𝒂),the plant was mature, tall as promised with a healthy growth...it was well hydrated and full of node. The packaging was great... Thank you @ugaoo for this delightful Monstera.. I'll be happy to buy it again.

It was always wonderful experience with ugaoo plants what they show is what customer receives always And that is too big thing to manage packaging and quality Love for ugaoo foundation will remain infinite.

Ugaoo is a brand that's synonymous with trust.. you know your plants will have a long life once you buy from them, not only because their plants and seeds quality is good, but they handhold you through every small part of the lifecycle.. they are my plant buddies for life... Whether i buy online, from The Jungle, whether i buy jade or mooli seeds... Whether i chat on insta or attend their online classes, or request for a return... each and every member of the ugaoo family speaks the same language... That of love- for the customer and for plants.. i am so glad ugaoo is in my life.

During covid, all deliveries became online. food,plants , groceries..wait..plants? Who would have thought?..well..Ugaoo did and is best at it. They make sure that we get the greenest and lushest plants so that we can love & care for them as they do. Their delivery containers are not only functional but aesthetically pleasing too. I personally am in love with their service and would totally recommend it to anyone who wants to make the first step in making their home a jungle.

●Origins of Gladiolus
The Gladiolus, native to South Africa, belongs to the Iris family (Iridaceae). The plant's corms (bulb-like structures) were initially cultivated and consumed by the San people, indigenous to the region. Later, in the 18th century, European botanists brought Gladioli to Europe, where they gained popularity as ornamental plants.Gladiolus flowers, with their majestic, tall flowers are a stunning addition to any garden, and bring unbeatable aesthetic value with them. These vibrant blooms not only captivate with their mixed hues but also carry a rich history and symbolism.