Winter season in India is one of the best for gardening, for most part of the country, the light, temperature, and weather is just perfect for growing a variety of produce and its pleasant to work in the garden too! Winter can truly be the king of seasons, it has the most stunning flowers in its basket, the best of vegetables and what stunning fruits. If you are a new gardener, who is just dipping their toes in gardening, then winter is your best bet if you don’t live high up in the mountains.
It is also a great season to start gardening from seeds and plan your garden to meet all your needs, both ornamental and food. In this blog we will take a very detailed look at the great variety of vegetables and flowers that winter has to offer, but the first order of things is to learn the nitty-gritties of gardening from seeds.
Seed gardening
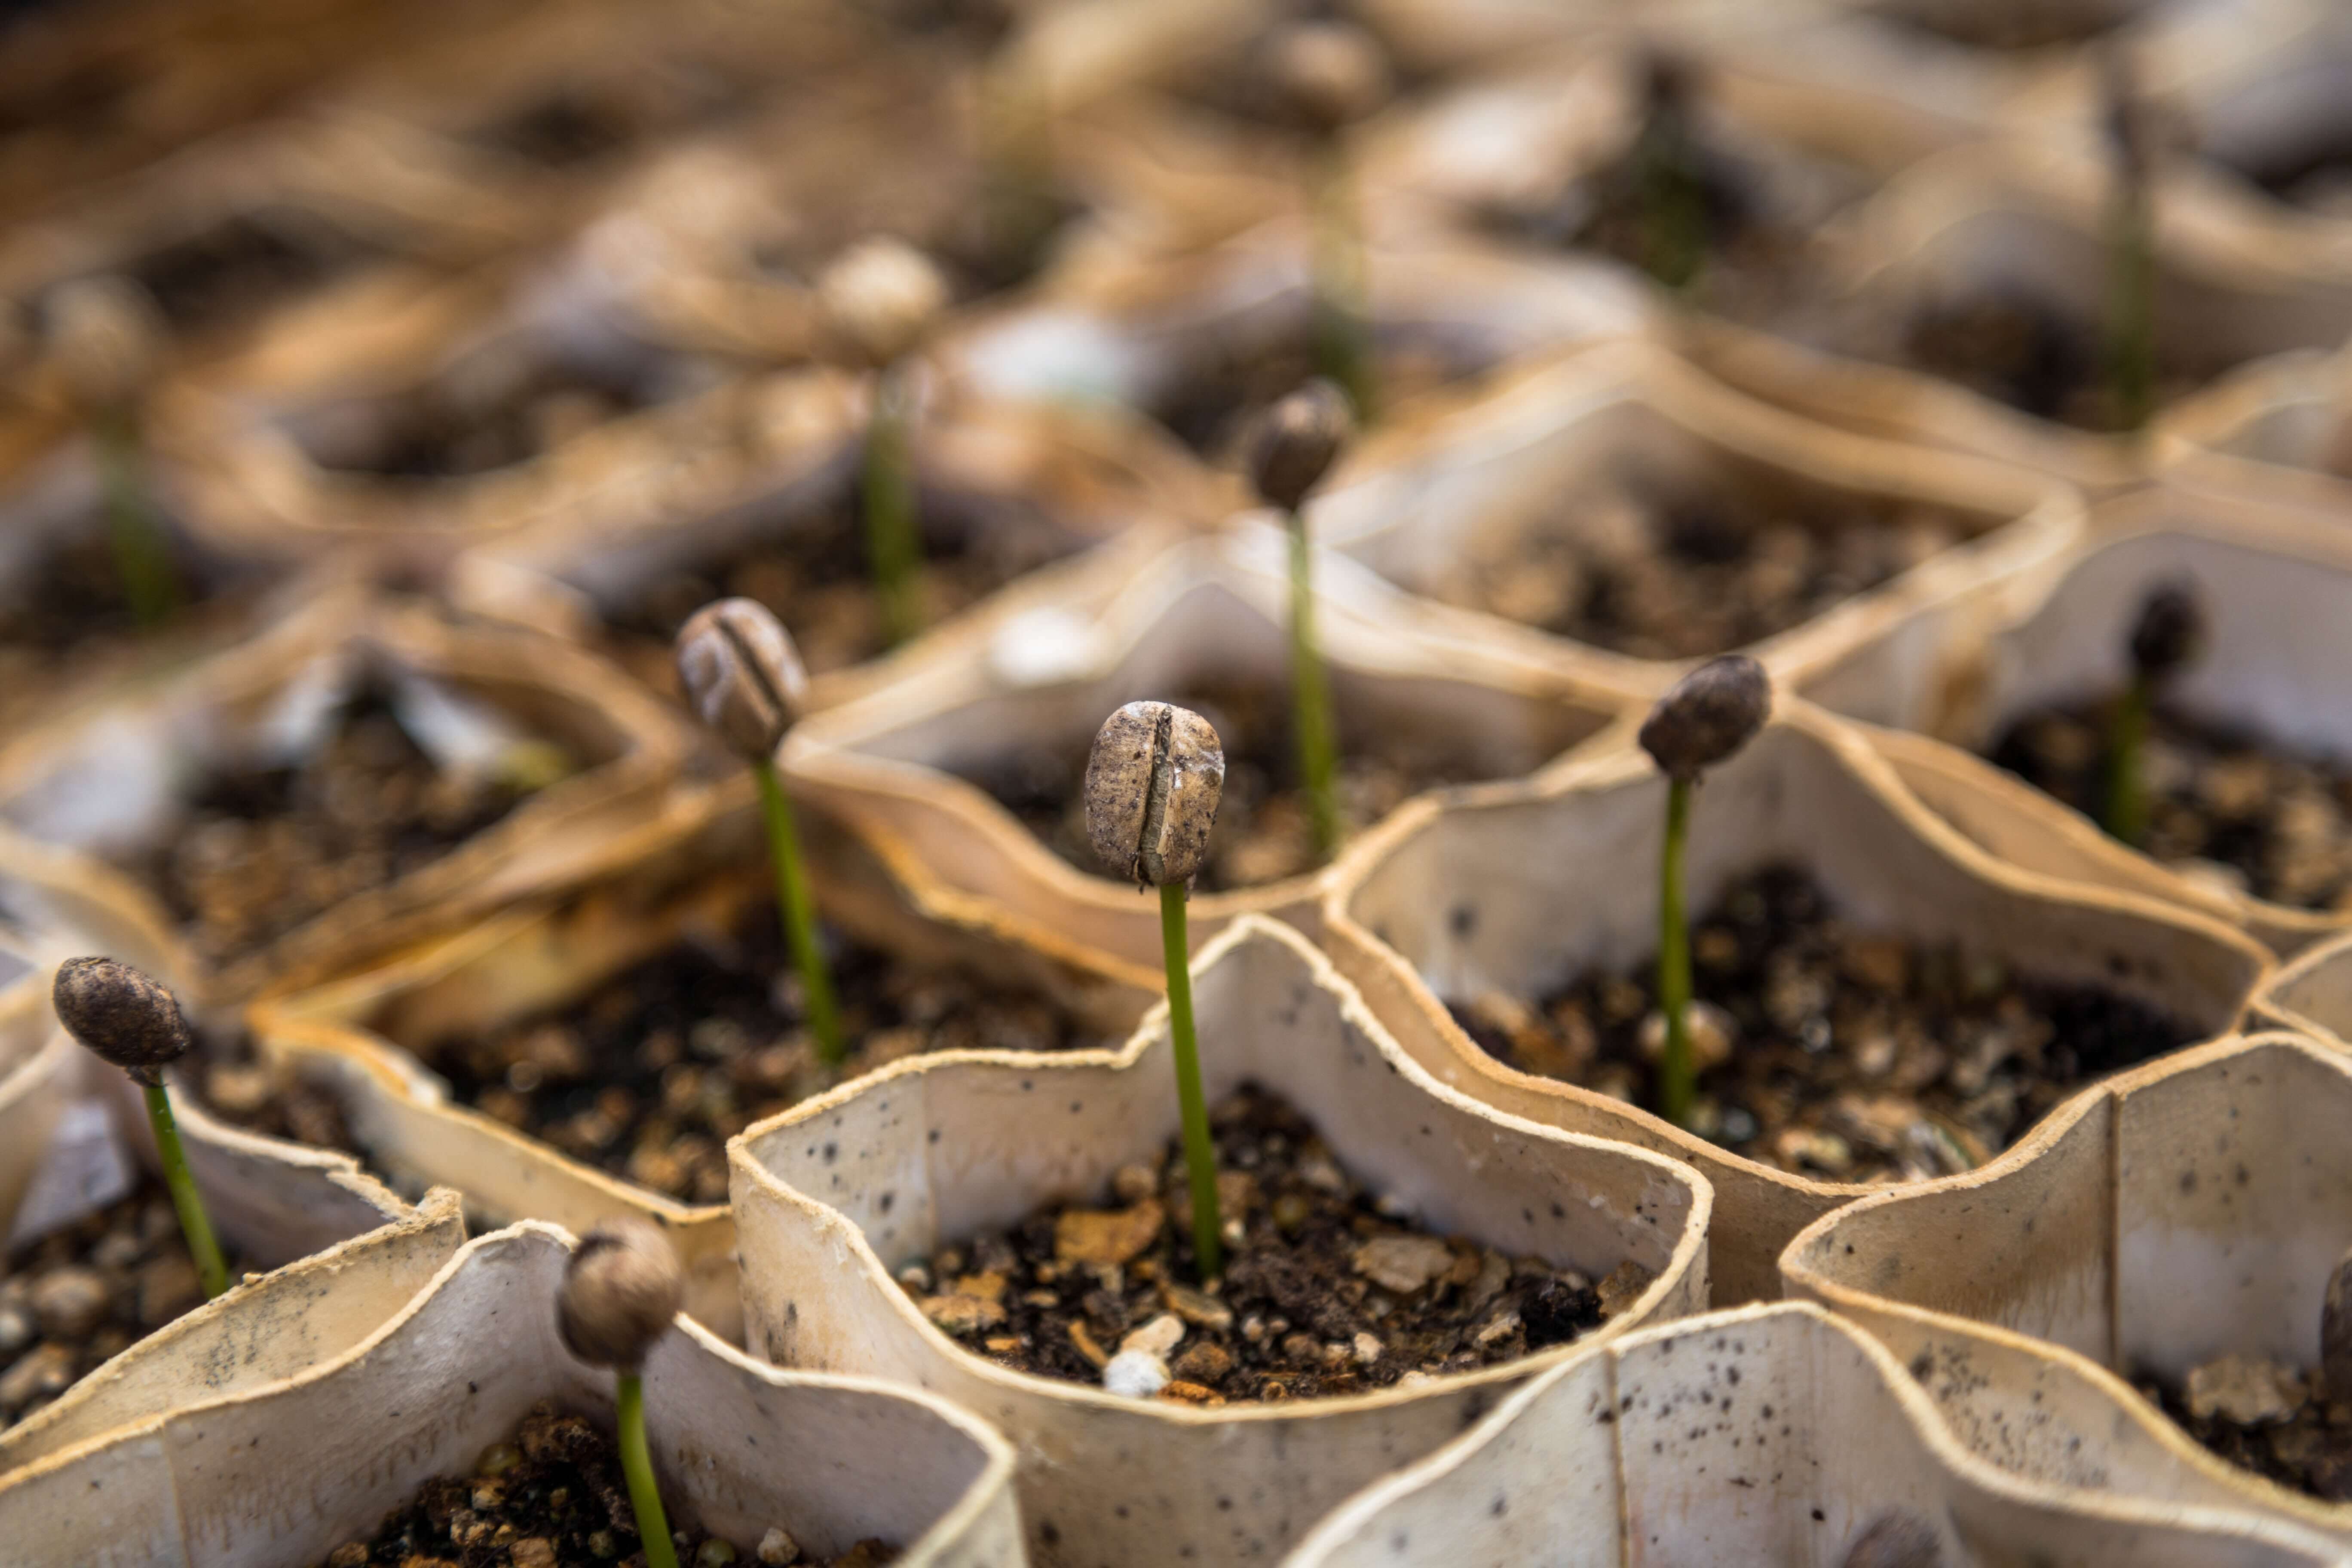 Seeds are like little time capsules, biding their time to just spring up and add life where once there was none. The beauty of growing from seeds is the end-to-end control you have over the whole process from the growing medium to the end result and the numerous seeds you can harvest at the end. The joy of watching a seed grow and transform into something wonderous is not entirely elusive and all of us can make it happen with very little effort.
Gardening from seeds requires a good germinating medium, grow pots and a well-ventilated area with indirect light. The rest is as easy as growing a money plant! What follows are some of the well-kept and cherished secrets of the seed gardener wing of the plant parent club.
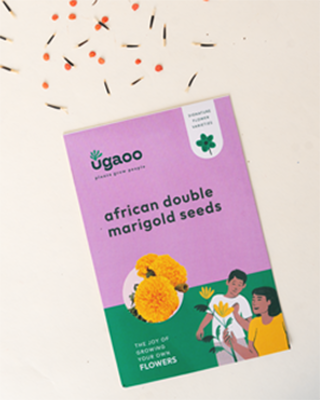
- Always use good-quality organic seeds. Seeds generally have a shelf life, so look for trustworthy sources (Ugaoo) that sell you good seeds, or if you are using your own seeds use them every following season.
- If you are germinating a vegetable of flowering shrubs it is better to use a grow pot/seedling tray for germination as it is easier to control the growing conditions. While it might seem like a hassle and an additional expense, it greatly increases the chances of success. For growing pots, you can use commonly available household items like egg cartons, and paper cups of mineral water bottles cut in half. The only requirement is that there are drainage holes at the bottom.
- Use a light, well-draining medium for germinating your seeds. A light airy medium holds enough air in between the soil particles to increase the chances of a successful germination. They also support root growth as the tiny roots don’t have to struggle much to expand. While we can sit and wax eloquent about natures ability to flower in concrete cracks, I believe if we can make it easy, why not. Also, a loose rooting medium makes transplantation so much easier.

- Never bury your seeds to deep. The general rule of thumb, if not specified, is to cover the seeds with a soil layer that is not more than twice the seed size. Nevertheless, there are some flower bulbs such as lilies and tulips that like to be buried deep.
- While watering ensure that the soil covering the seed does not get dislodged. Use a misting spray and if you don’t have the apparatus, put the grow pot in a larger vessel filled with water so that it can absorb sufficient water through its drainage holes, or simply use a teaspoon for watering.
- Never let the growing medium get dry. The idea is to maintain a constant level of moisture that is neither soggy not drying. Once the seeds start germinating and its protective layer cracks it needs constant moisture, if the soil dries up, the exposed seed shrivels and then dies.
- Place your germinating setup in indirect light with plenty of ventilation. Germinating stations should never be setup in an area with direct sunlight, as harsh light can kill sprouts. The light should be bright for a major part of the day, a good parameter is that you should be able to read in that light with ease. The spot should be comparatively warmer with enough ventilation.
- When planting flower seeds or seeds for leafy vegetables, plant them directly in the soil beds or planters you want them to grow but ensure the same growing condition, i.e. protection from direct light and rain and just enough water.
- One cheat for successful germination is to cover the germinating setup with cardboard sheets the first couple of days to give them the warm humid environment necessary for quicker germination.
Now that we have talked about the basic but essential steps to seeds gardening, lets talk about the often looked over aspect – planning.
Planning
When starting a seasonal garden, whether summer or winter, always plan as per the calendar. First make a list of the plants you want to grow and then read up on the time it takes for them to flower or fruit. Seeds from trusted sources like Ugaoo provide a fairly accurate timeline for the growth and germination of their seeds.

Divide your growing space into areas as per the light requirements of the plants and ensure a sufficient supply of fertilisers and pesticides, organic for sure. If you are planning to grow creepers and vines then you would also need stakes and trellises to support the growth.
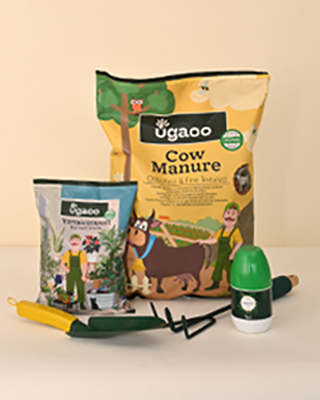
If you intend to take up gardening seriously, it is also a good idea to invest in a watering can or a garden hose for ease of watering. Also, get yourself some multifunctional hand tools for digging, raking, and weeding. While they might seem like an added expense, the good quality tools are literally a once-in-a-lifetime investment and help scale down the physical effort required for harvesting, pruning, and gardening in general by half.
Winter Vegetables in India
In contrast to a majority of the world, seventy percent of our meals comprise of plants and plant products and it is needless to highlight the myriad ways in which the humblest of vegetables are prepared in Indian cuisine. Some vegetables are more quintessentially Indian than the others, case in point karela and they are so easy to grow.
First things first, let’s set you up with the vegetable calendar for winters:
| Vegetables | Growing Months | Harvest time (days) | Seeds |
| Beetroot | August - December | 80 – 90 | Beetroot |
| Bitter gourd | November - February | 55 - 60 | Bitter gourd |
| Broccoli | All seasons | 95 - 100 | Broccoli |
| Cabbage | September - January | 95 - 100 | Cabbage |
| Capsicum | October - January | 95 - 100 | Capsicum |
| Cauliflower | October - January | 120 -125 | Cauliflower |
| Carrot | August - March | 75 - 80 | Carrot |
| Cucumber | All seasons | 65 – 70 | Cucumber |
| Beans | January - March | 50 -55 | Beans |
| Lettuce | September - February | 45 - 55 | Lettuce |
| Okra | All seasons | 45 - 55 | Okra |
| Onions | All seasons | 150 - 160 | Onions |
| Peas | September - January | 55 - 60 | Peas |
| Radish | September - January | 45 - 50 | Radish |
| Spinach | All seasons | 35 - 40 | Spinach |
| Tomato | All seasons | 90 - 100 | Tomato |
| Turnip | October - December | 55 - 60 | Turnip |
Now, assuming that you have set up your seeds for germination, its time to move on to setting up the vegetable beds or containers for the final stage.
Soil, Water, Fertiliser
What needs to be understood is that fruiting plants need more light, water, and nutrients than regular ornamental or flowering plants. It is these natural elements that get converted into the produce that we so dearly covet. So, the better the soil quality and natural sunlight, the better will be the product and the added nutrients and fertilisers boost this probability.
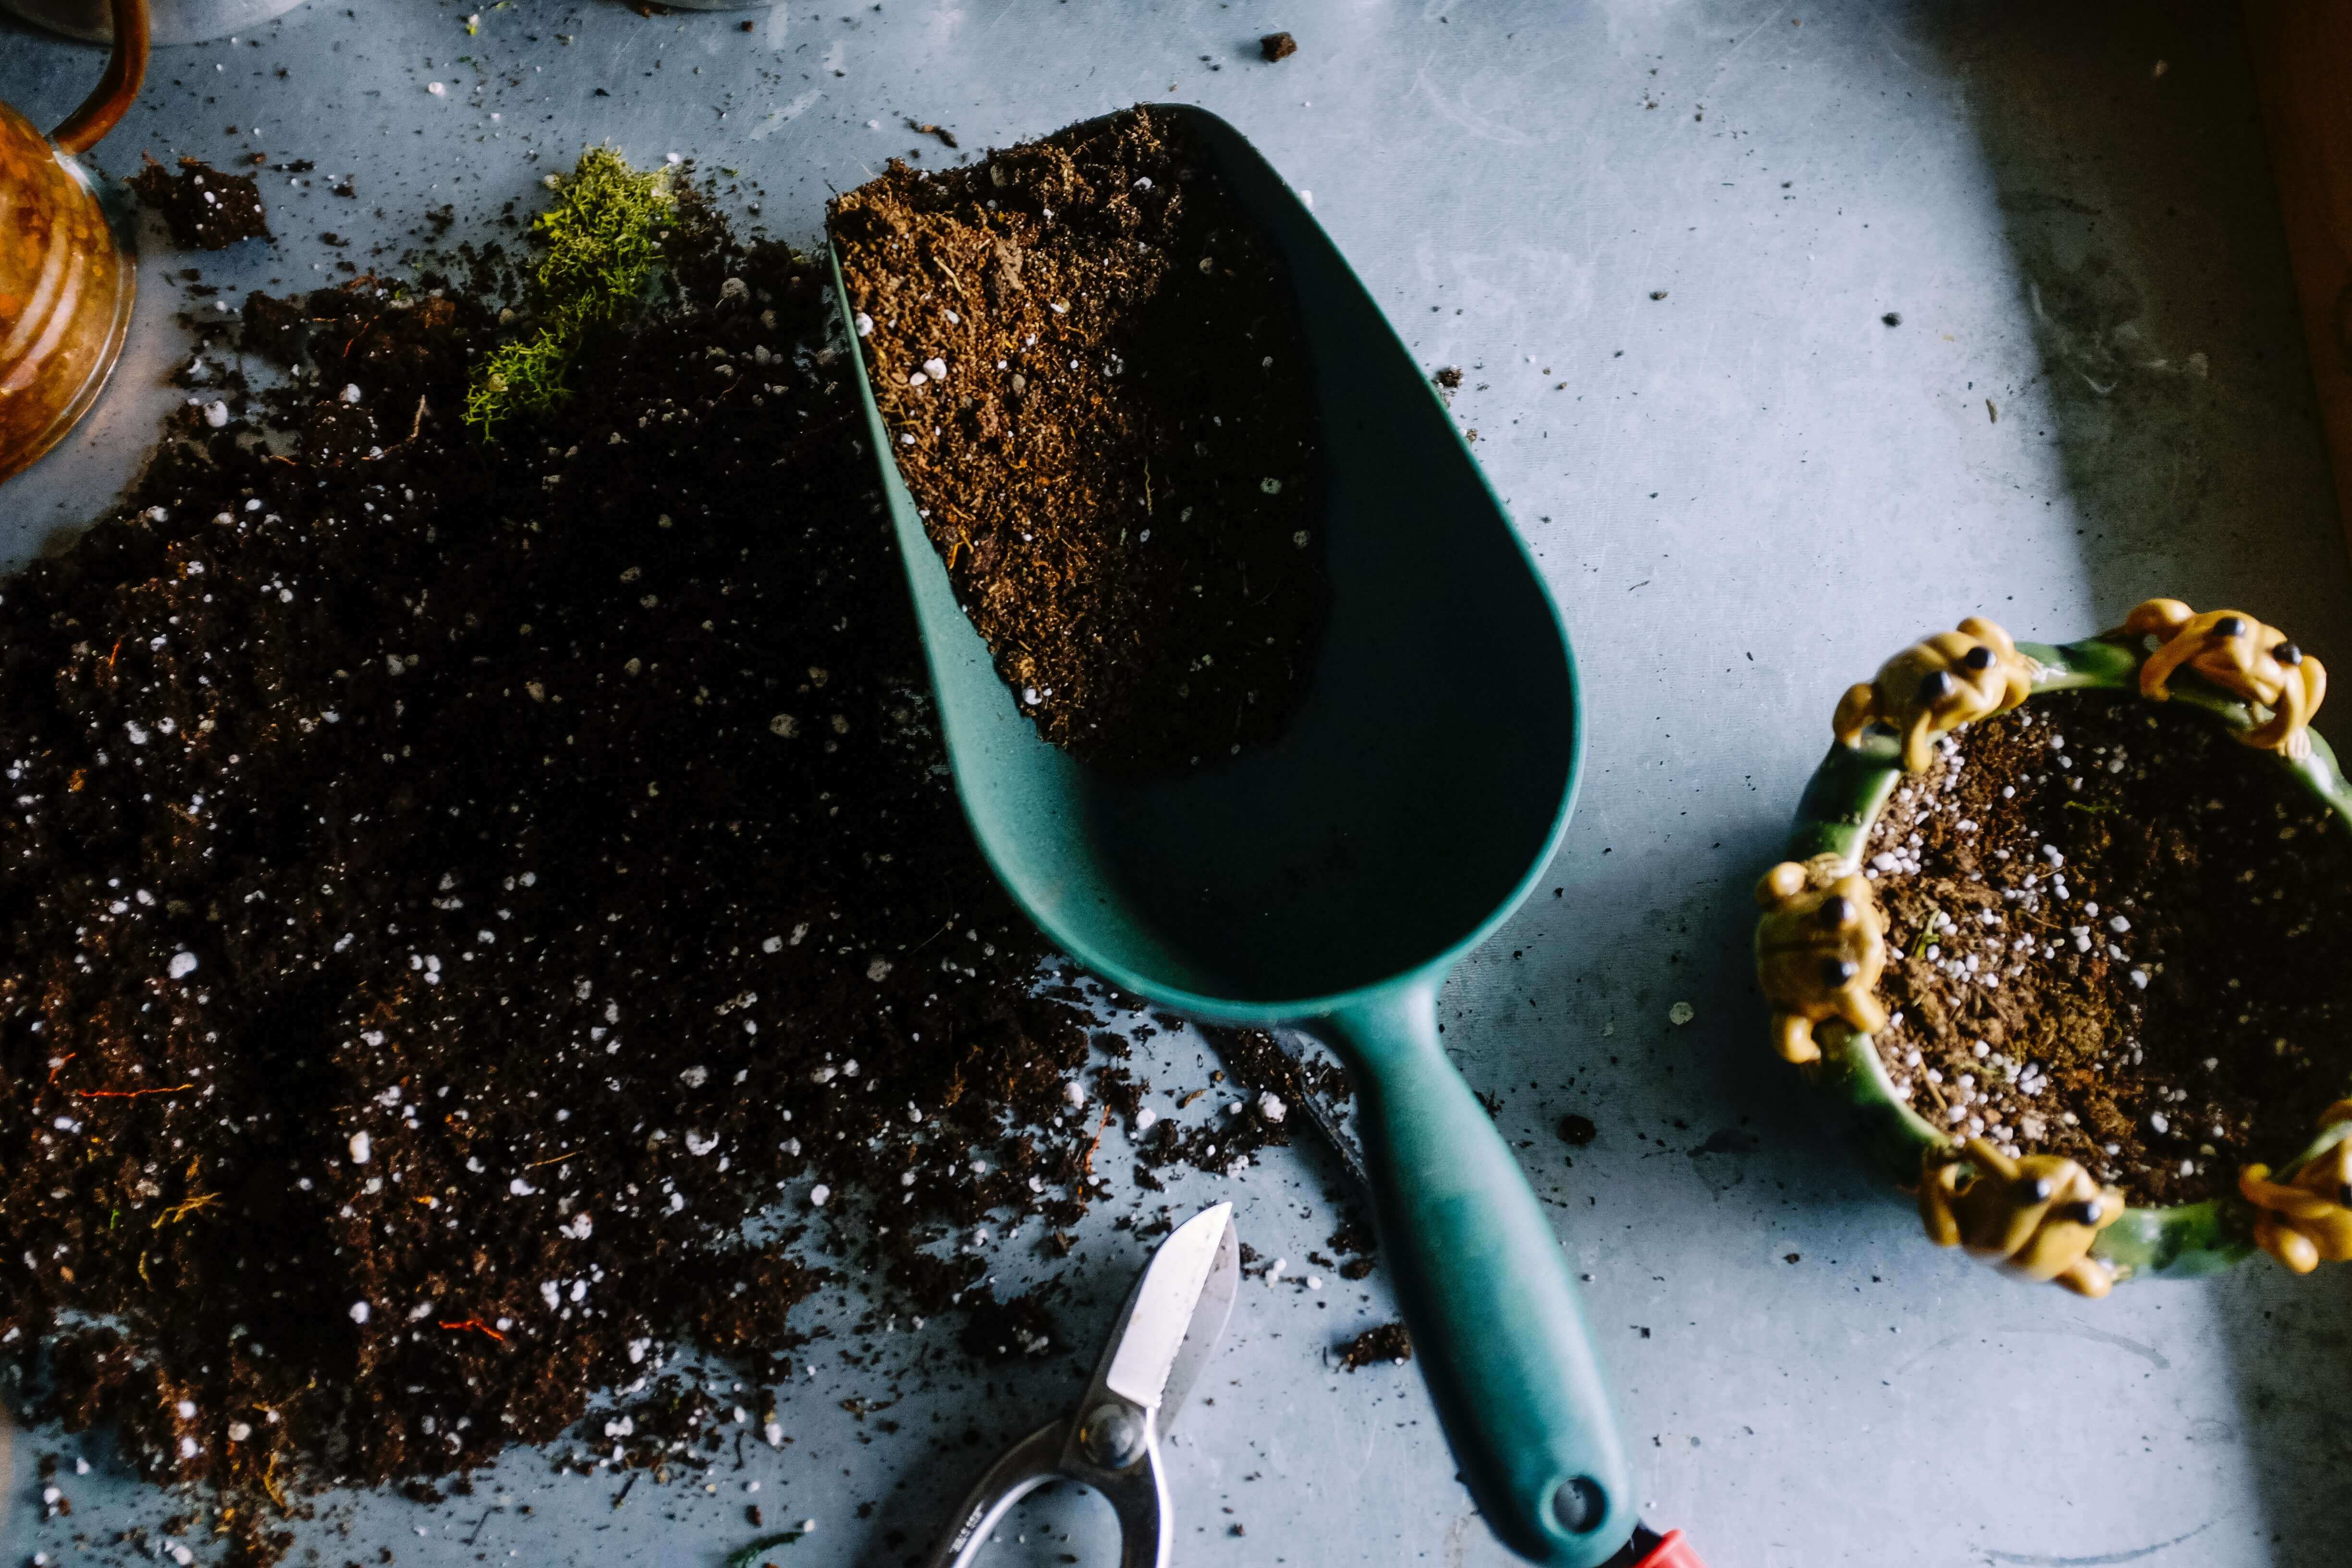
The soil needs to be rich in organic matter but light enough to not get waterlogged and soggy to prevent root rot. It needs to be a good mix of topsoil (approx. 55-60%), organic matter (approx. 30%), and soilless growing mix like coco peat or vermiculite (approx. 10%). If you are not confident about preparing your own soil mixes or sourcing reliable components, you can use ready-to-use mixes like organic veggie mix. Always ensure that your container or soil bed has ample drainage for extra water.
Once the saplings are transplanted to the bed after the advised time, they should be spaced adequately keeping in mind their size at full growth and planted as per their light requirements. Plants like beans, cucumbers, and tomatoes need proper support structure or arrangement for climbing vines. It is imperative to protect the newly planted saplings from direct rain to prevent them from getting washed away.
 Watering also plays a very big role in the proper growth of plants and fruiting. Too much water and it will rot and too little water and it will either have stunted growth or shrivel. The simple science behind watering is that it should be done in proportion to the size of the plant and the light it is getting. The more the light the more is the water requirement, due to both higher evaporation rate and faster photosynthesis. Also, always water your plants, small or big, in a shower form with the help of either a garden hose or watering can. A single stream of water damages the soil bed and loosens the plant's hold on it.
Every plant needs regular fertilisation and fruiting plants more so. Using organic fertilisers is a better choice for better healthier produce. Use good quality and reliable organic fertilisers from trusted sources. The frequency and the right time of fertilization is just as important as the quality of fertilizer. The plant needs fertilizer when it is planted, when it starts flowering, and also when it fruits. However, it might differ for some plants.
Some fruiting plants have singular male or female flowers and might need cross-pollination if there are no bees and butterflies to their rescue. It might seem like a daunting task but is in fact as easy as using cotton swabs/earbuds to transfer pollen from one flower to another, it can be a fun Sunday activity for kids.
Pest Control
While we may not like, rather detest, the idea of pests; it's the truth. Where there is food in nature, there will be organisms that depend on it. The best way to safeguard your loved crops from pests is prevention. Just spray organic pest control solutions like Neem Oil or any other organic pesticide at regular intervals. Make sure that it is from a reliable source and truly organic because its for food that is to be consumed. The first spray should be done when the first true leaves appear. Make sure to spray on the underside of the leaves, that is where they hide and lay eggs. Also, using Neem bark powder (neem khali) in the potting mix is also a good idea. Once the plant has reached a good size, spray thoroughly and regularly every 15 days. Remember, prevention is better than struggling for cure later. Be vigilant!
Growing your own food is a joy like no other. It truly is farm to table and you grow what you want to eat, thus reducing food wastage to a large extent. It instils a sense of satisfaction and respect for the food we eat. It is a culture of sustainability that needs to be established both for the benefit of our kids and betterment of the world in general. Growing food in our homes is a very good way to utilise valuable real estate and reduce the carbon footprint due to food transport. It is a family tradition much like exchanging sweets on Diwali or playing with colours on Holi that needs to be established.
Watch out for the continuing blog on winter flowers.
Happy gardening!
Click to Buy Ugaoo Plants
Click to Buy Vegetable Seeds
Click to Buy Live Plants Online
Click to Buy Indoor Planters


